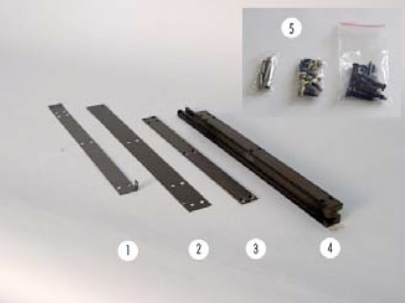
Scope of delivery:
1 – Insulation (over Z-bar) 2 – Insulation
3 – Cover insulation
4 – Z-bar
5 – Set of screws
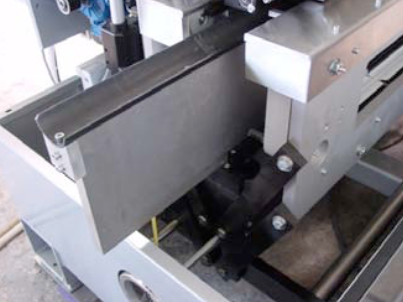
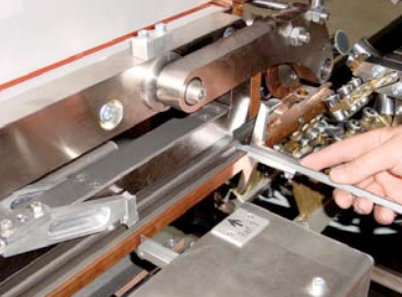
Remove the guiding channel to side of the machine. Then remove the wire from the welding rolls and unlock the tooling plate and slide it to the front.
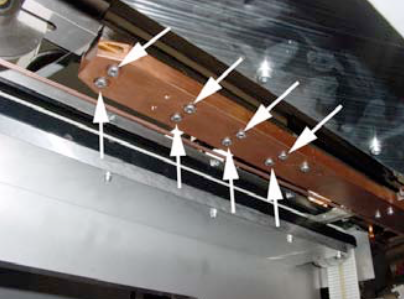
Remove the 8 screws (see arrows) from the welding arm.
Be aware that the screws at the inside are shorter than those at the outside. Do not loose the two o-rings in between.
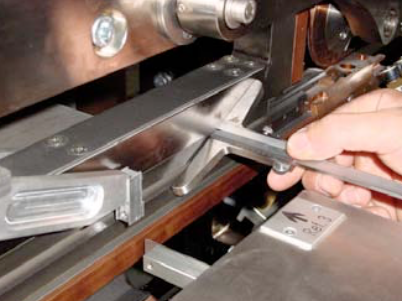
Then undo the eight screws from the cover insulation. Get somebody to assist you to hold to welding arm (heavy).
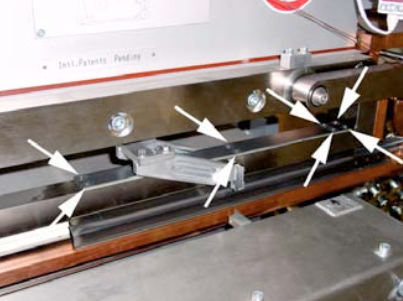
Remove the Z-bar from the welding arm and clean the welding arm with a dry rag.
NOTE:
When you mount the new Z-bar with the insulation, make sure you put some grease on the surface of both insulations and align the Z-bar centered with the depth gauge to the welding arm.

IMPORTANT:
Put also some grease all around these insulated screws.
When you mount the welding arm, do also align the arm properly with the depth gauge to the window.
IMPORTANT:
When you mount the welding arm to machine, make sure you are using the shorter screws for the inside! Otherwise the ceramic guiding might get damaged. Do not forget the two o-rings!
We hope your replacement work was successful. Thank for your support!
